|
|
Post by Harley on Oct 16, 2012 16:31:19 GMT
I haven't seen the most recent issues of the 3 window but the original version certainly didn't have the options that the later 5 window does. I think there were options for the front and rear lights but otherwise all the "spare" parts related to whether you were using fenders or not. So I don't think you've been too short changed on the goodies front!
|
|
|
|
Post by The Hooded Claw on Oct 16, 2012 17:19:35 GMT
Didn't think I had been just saw the two sets of wheels in Richard's and a few other bits that would have been useful.
I fully intend to build another roadster version at a later point as its such a nice kit.
THC
|
|
|
|
Post by The Hooded Claw on Oct 17, 2012 23:01:56 GMT
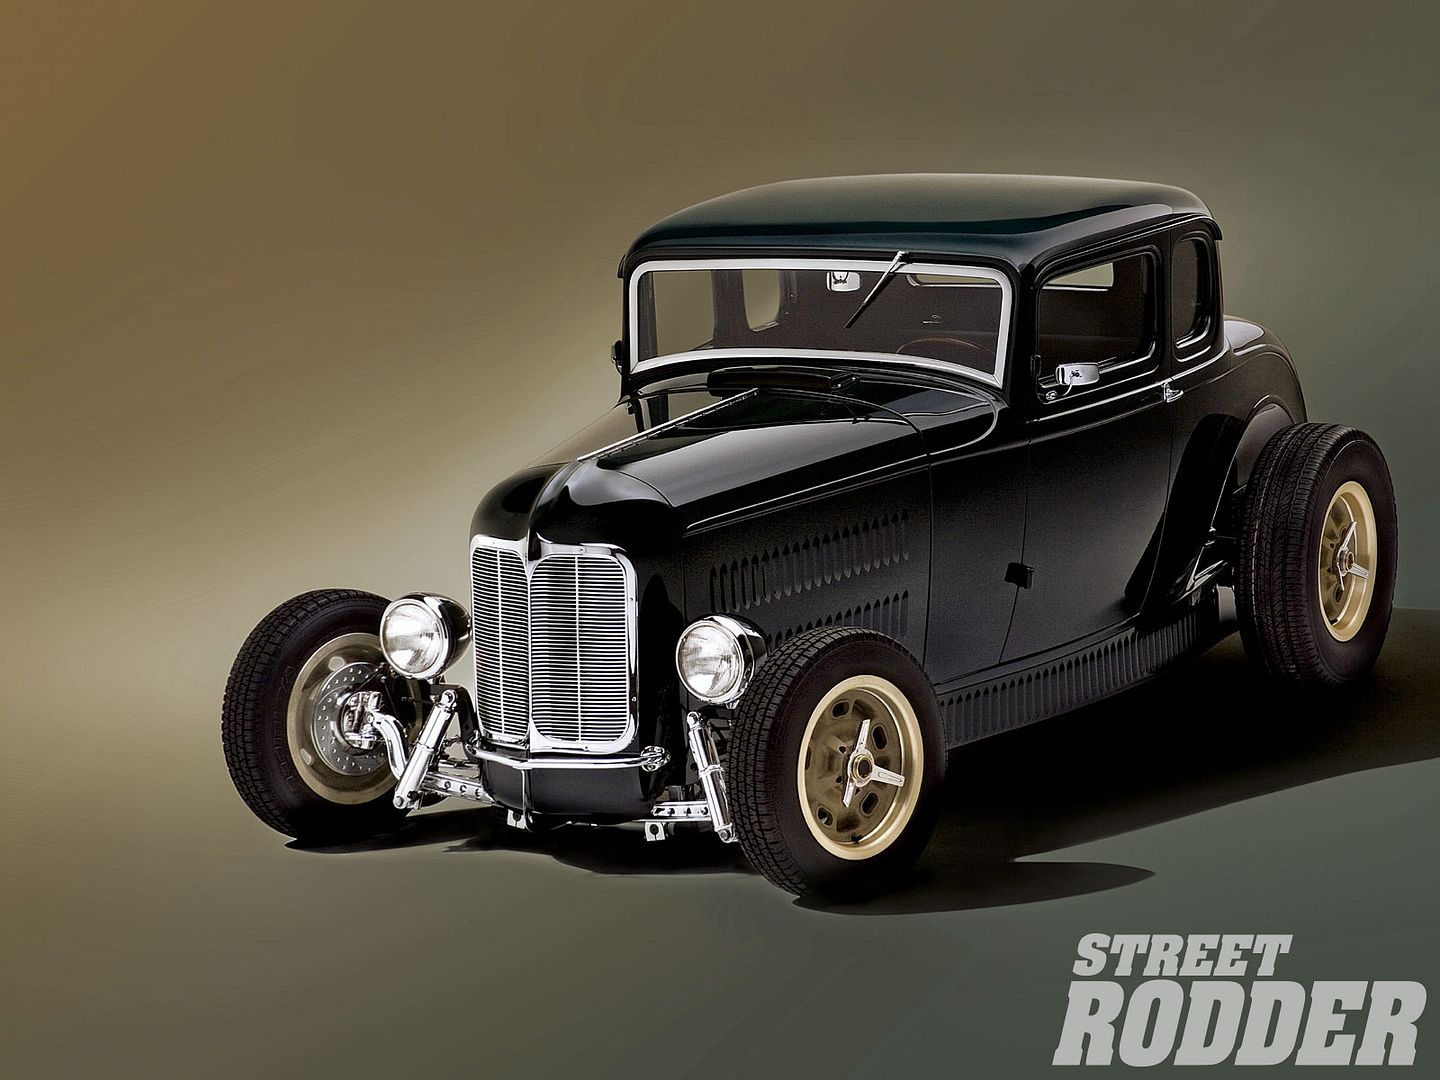
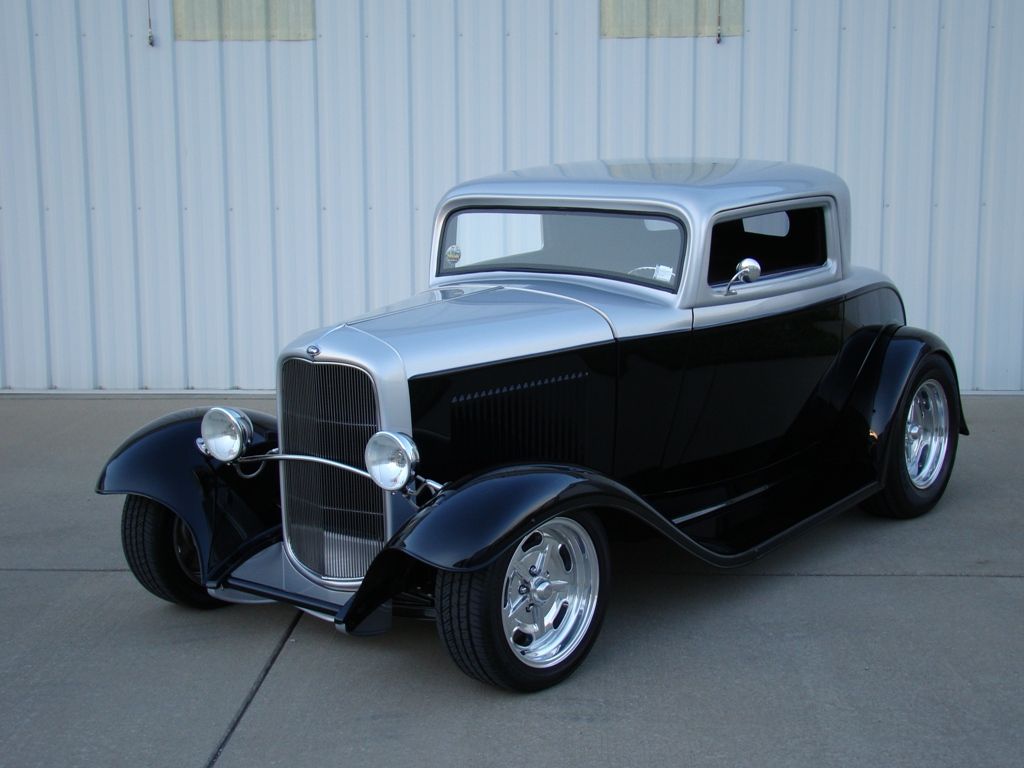
Sort of the look I'm aiming for.  Although I quite like the two tone on this;  THC |
|
|
|
Post by Harley on Oct 18, 2012 8:16:22 GMT
In my less than humble opinion, the lower picture shows the problem that all 2 tone Deuces have; namely, how do you resolve the belt line colour split when it meets the grille shell? To my eyes at least, painting the shell either of the 2 tones looks untidy and carrying the split onto the shell looks even worse.
If you want two colours on your Deuce, So Cal style scallops are the way to go.
I'll get off my soap box now.
|
|
|
|
Post by The Hooded Claw on Oct 18, 2012 10:49:16 GMT
Noted, you have a point there. I see that the front of the chassis frame is also silver which is messy.
Single colour is looking more and more likely.
THC
|
|
|
|
Post by The Hooded Claw on Oct 18, 2012 14:06:25 GMT
Stance:  THC |
|
|
|
Post by Harley on Oct 18, 2012 14:50:43 GMT
Just my two bob's worth but I'd want to either raise the front edge of the body so there's a straight line between the top of the grille shell and the top of the firewall which runs parallel to the top of the frame rail, or lower the rear of the body (and possibly the grille shell as well) so the bottom of the body runs parallel to the frame rails (if a curved line can run parallel, but I'm sure you know what I mean).
|
|
|
|
Post by The Hooded Claw on Oct 18, 2012 18:35:12 GMT
It was just plonked onto the chassis, I think it had rotated a bit farther forward than I intended.
THC
|
|
|
|
Post by jwhalen on Oct 19, 2012 11:15:25 GMT
Hi,
That stance looks like it'll be good - the body will pivot like that until the interior is in as it is the interior bucket that locates the body. I've haven't had a go at adjusting the stance using the kit suspension yet - I'll have to have a go sometime.
Cheers,
|
|
|
|
Post by The Hooded Claw on Oct 21, 2012 21:13:39 GMT
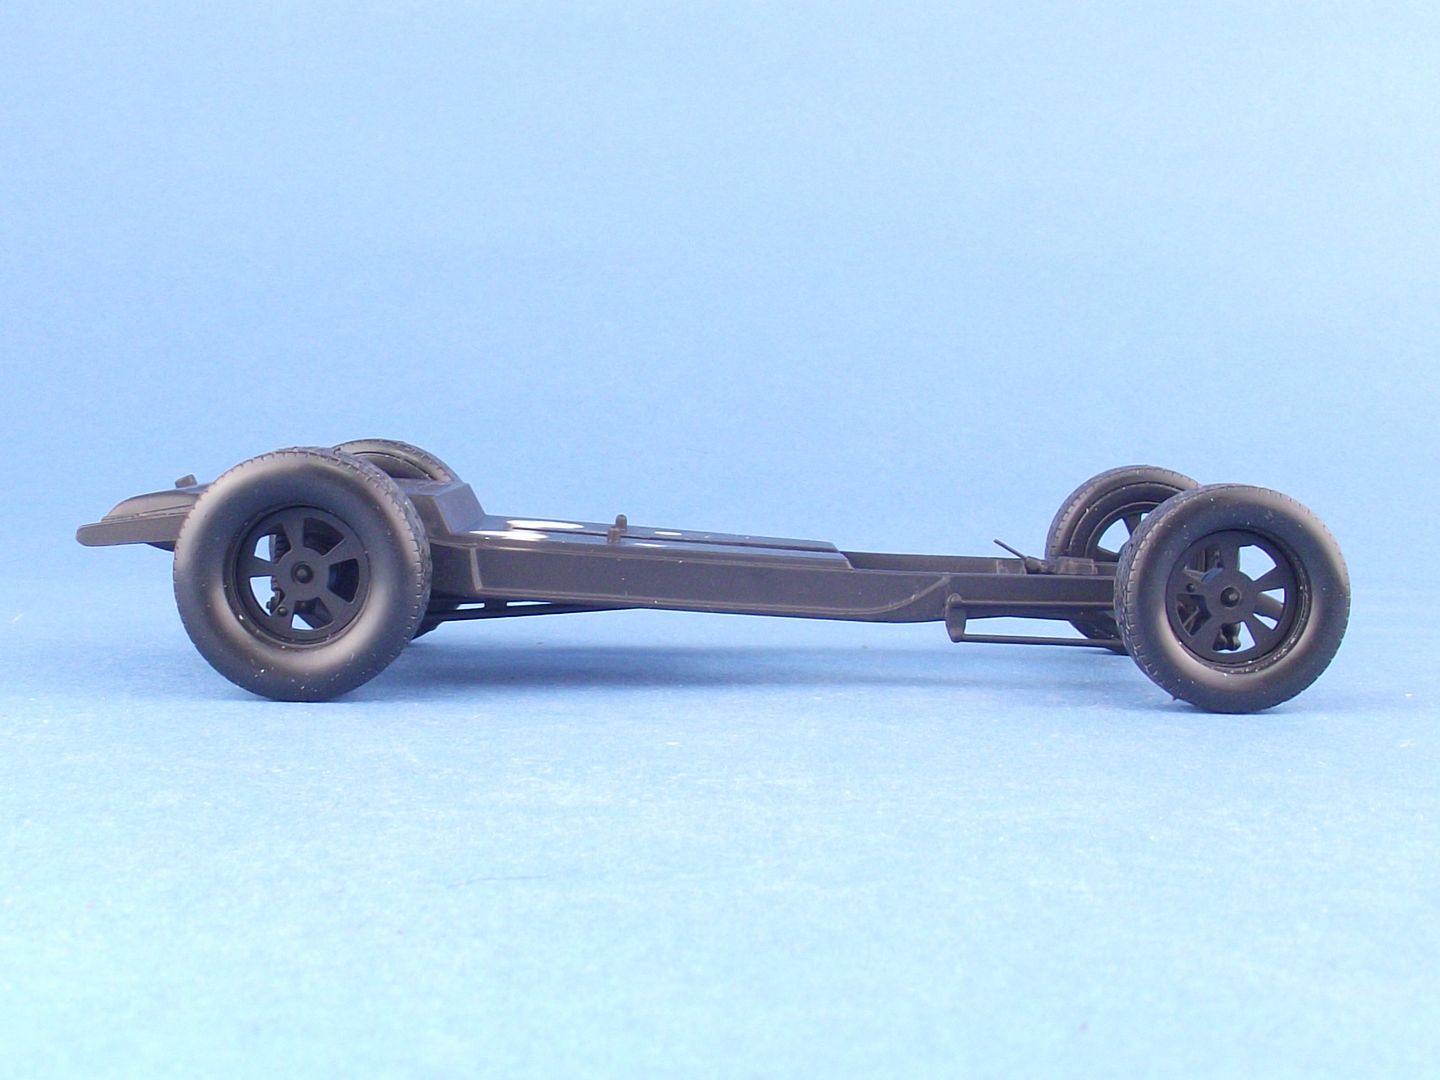
Got the chassis assembled and the wheels based up. So this is the chassis stance sans bodywork.  THC |
|
|
|
Post by jwhalen on Oct 22, 2012 20:18:36 GMT
Hi,
Looks like it'll have quite the rake when she's done. Keep up the good work!
Cheers,
|
|
|
|
Post by The Hooded Claw on Oct 22, 2012 22:42:55 GMT
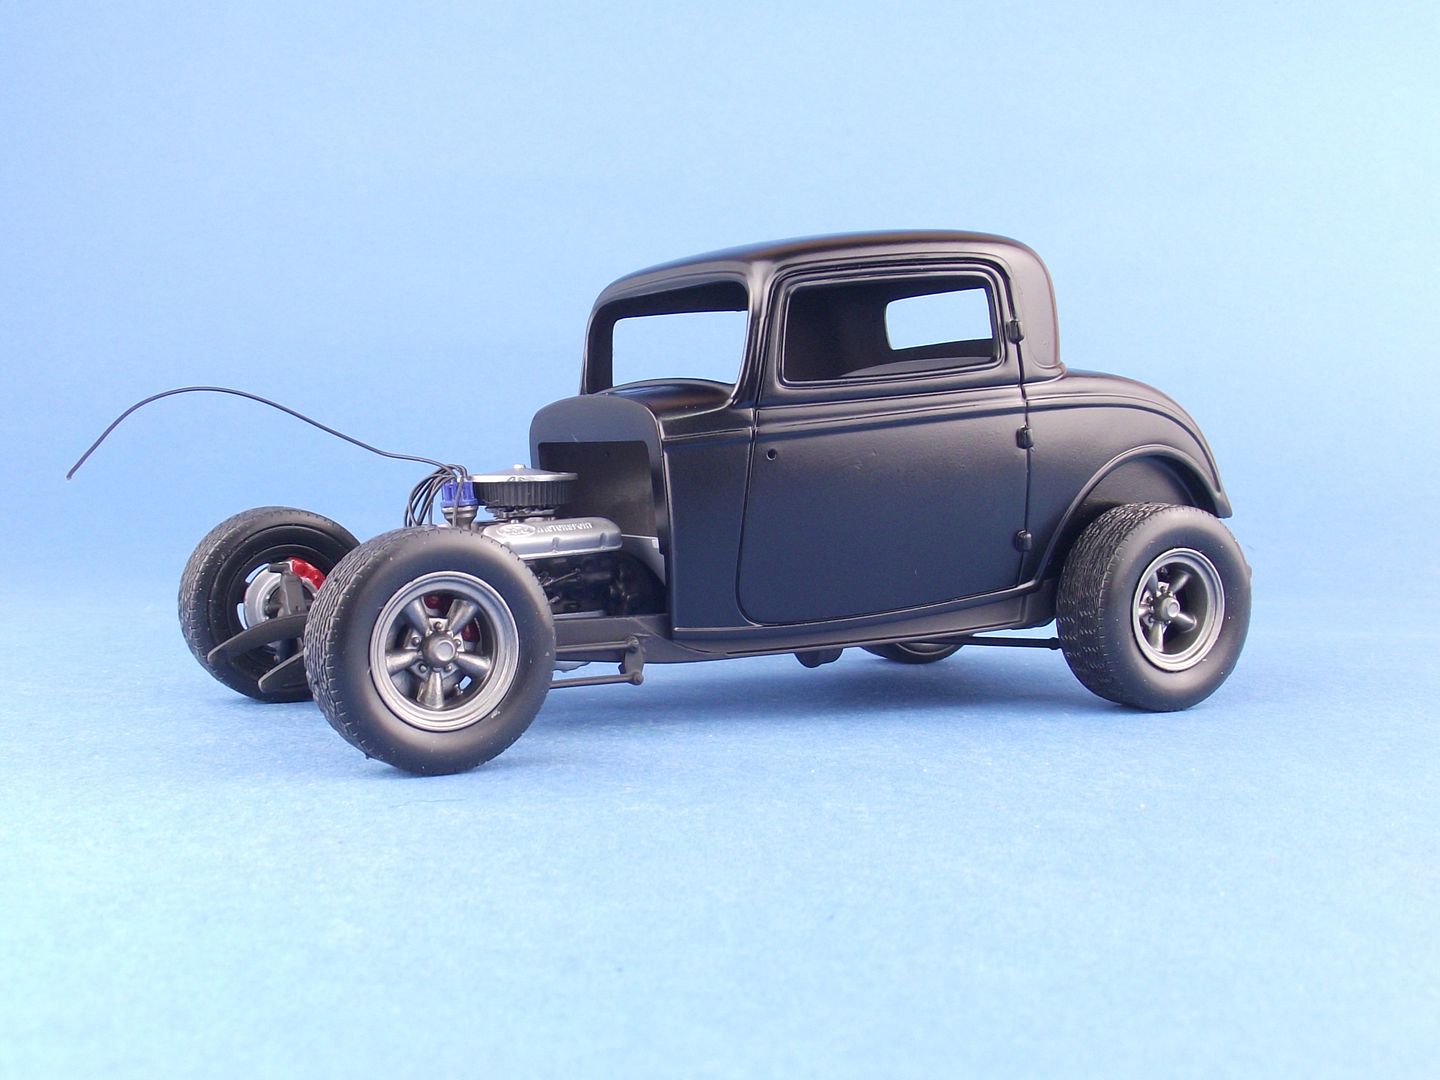
Got the motor in and the plug leads in place. Idiot question where does the centre cable go on this engine as I'm stumped. Body plonked onto the primer finished floor. Not started the interior yet. Not sure which way that will go yet.  THC |
|
|
|
Post by Harley on Oct 23, 2012 8:09:21 GMT
The centre HT lead runs to the coil - wherever you've put that. If it's not mounted up on the firewall then I'd run the lead into the transmission tunnel as a lot of cars run hidden electrics (behind the dash, in the boot etc.).
Looking pretty stealthy there.
|
|
|
|
Post by The Hooded Claw on Oct 23, 2012 11:46:52 GMT
Thanks Harley, I'd come to the same conclusion so the cable runs to the firewall and disappears.
I'll get some clear on the bodywork tonight and hopefully the interior will get a coat of nice brown leather colour as well. I've made the mats and chosen the interior colours already so it should come together fairly quickly.
All of the smaller detailled parts are prepainted and ready to fix to the thing once the bodywork is finished.
Will make Telford and may even leave me enough time to make progress on the Styline '61 that's lurking at the back of the bench.
THC
|
|
|
|
Post by jwhalen on Oct 23, 2012 13:54:40 GMT
Hi,
As Harley says, you're pretty free about where you put the coil. An easy way to make a coil is to use two thicknesses of plastic rod so you have a thick middle with two thinner ends - drill a hole in the top to take the coil wire, spray it up and you're done!
With a sbf with the distributor at the front I tend to put the coil on the inside of the chassis frame rail in front of the engine on the passenger side.
What basecoat have you used? What clear do you plan to use?
Cheers,
|
|